How To Craft Edible Crystal Recipes: A Sweet Adventure
Ever wondered how you can create edible crystal recipes that dazzle both the eyes and taste buds? If you're a fan of experimenting in the kitchen, you're about to discover a whole new world of culinary artistry. Edible crystals aren’t just a trend—they’re a game-changer for anyone who loves to cook, bake, or simply impress friends with their dessert-making skills. So, buckle up because we’re diving deep into the science and art behind edible crystal recipes!
Now, imagine this: you're hosting a dinner party, and you want to serve something that screams "wow" factor. What if you could craft edible crystals that not only look like gemstones but also taste incredible? It's not as complicated as it sounds, and with the right techniques, you can easily pull off this edible marvel. Whether you're a beginner or a seasoned chef, edible crystal recipes are your gateway to creating unforgettable desserts.
What makes edible crystal recipes so special is their versatility. You can use them in cakes, candies, cocktails, or even as standalone treats. The possibilities are endless, and the best part? You don’t need a chemistry degree to make them. In this guide, we’ll walk you through everything you need to know about crafting edible crystals, from the basics to advanced techniques. So, let’s get started!
Table of Contents
- What Are Edible Crystals?
- Why Make Edible Crystals?
- Basic Ingredients for Edible Crystals
- Step-by-Step Guide to Making Edible Crystals
- Tips for Perfecting Your Crystals
- Creative Uses for Edible Crystals
- Common Mistakes to Avoid
- Delicious Recipes Featuring Edible Crystals
- Cost-Effective Ways to Make Edible Crystals
- Conclusion: Your Edible Crystal Journey
What Are Edible Crystals?
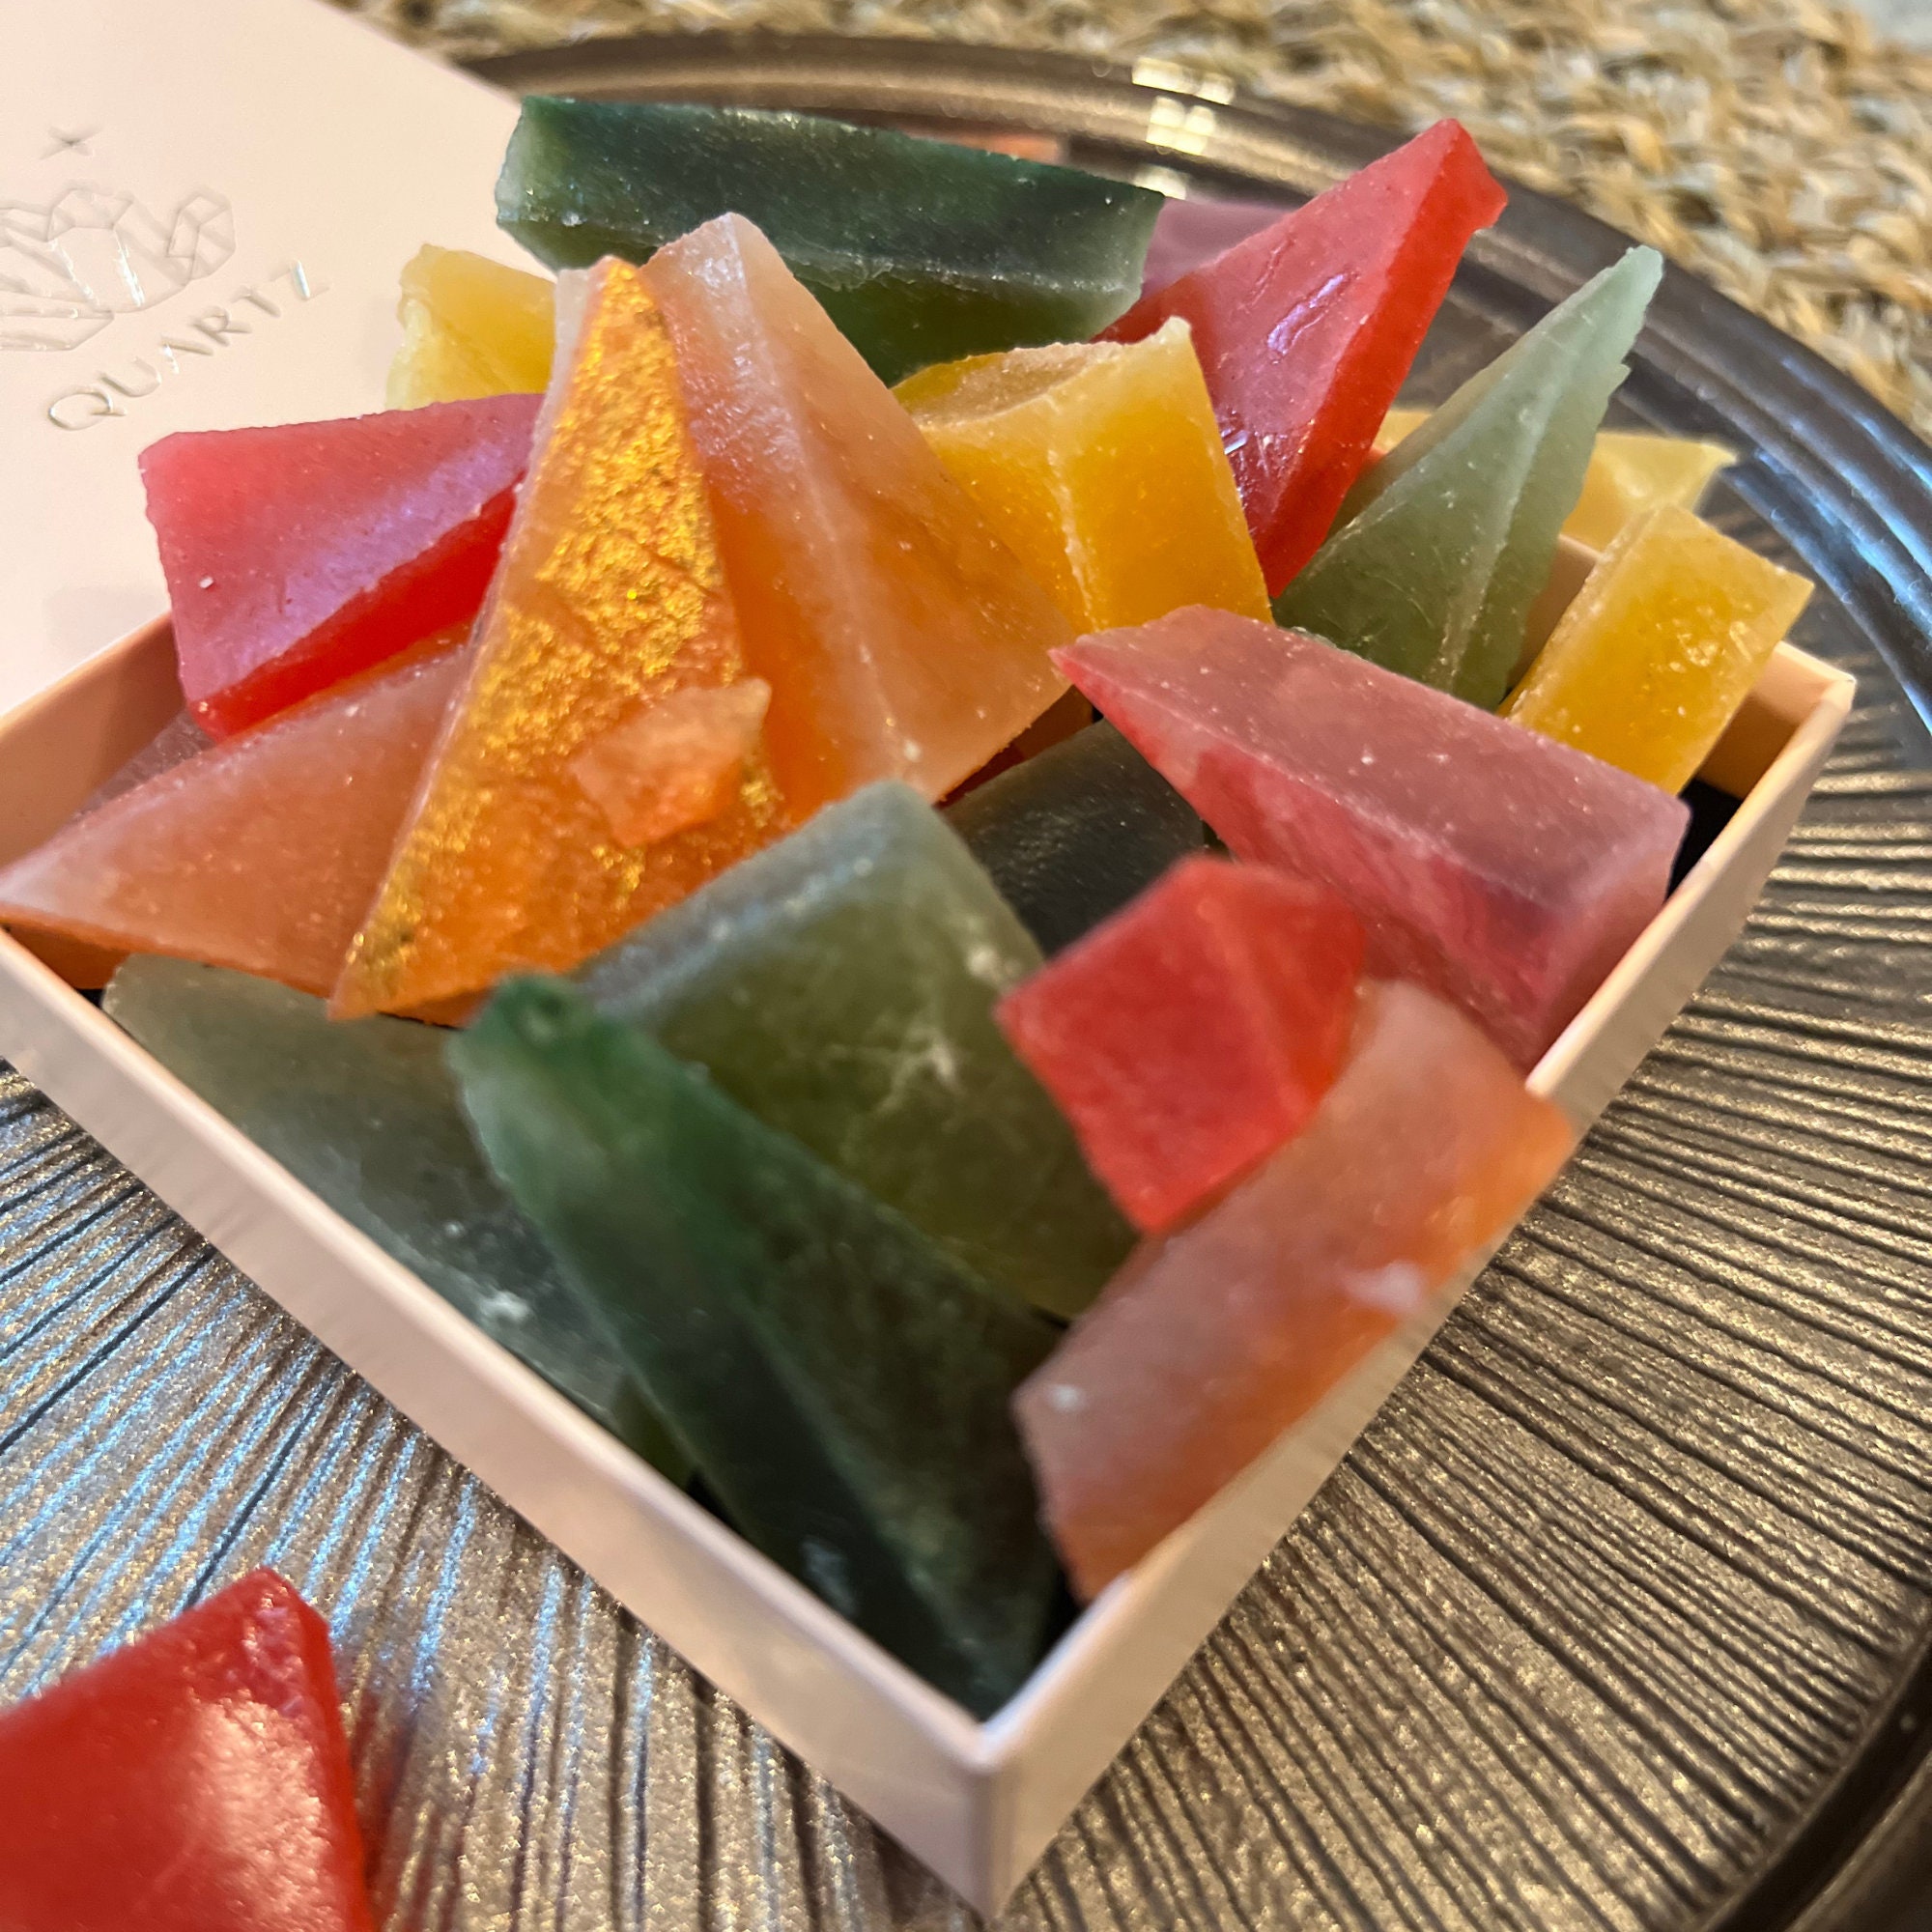
Edible crystals are more than just decorations for your desserts—they're edible works of art. These tiny masterpieces are created using sugar, water, and sometimes flavorings or colors. The process involves dissolving sugar in water to form a supersaturated solution, which then crystallizes over time. The result? Stunning, crystalline structures that look like they belong in a jewelry store but taste absolutely divine.
But why stop at sugar? You can experiment with other ingredients like honey, salt, or even edible glitter to create unique textures and flavors. Edible crystals have been around for centuries, but their popularity has surged in recent years thanks to social media platforms like Instagram, where food art is king.
Why Make Edible Crystals?
There’s something magical about edible crystals that makes them irresistible. First off, they’re visually stunning. Whether you’re decorating a cake or adding a finishing touch to a cocktail, edible crystals elevate any dish from ordinary to extraordinary. Plus, making them is a fun activity that anyone can enjoy. It’s like conducting a science experiment in your kitchen, except the results are 100% edible!
Another great reason to make edible crystals is their versatility. They can be used in a wide range of dishes, from sweet treats to savory dishes. Imagine sprinkling some edible crystals on a bowl of fruit salad or adding them to a platter of cheese and crackers. The possibilities are endless, and the only limit is your imagination.
Health Benefits of Edible Crystals
Believe it or not, edible crystals can also have health benefits. For instance, you can make crystals using natural sweeteners like stevia or honey, which are better for your health than refined sugar. Additionally, some edible crystals are infused with vitamins or minerals, making them not only tasty but also nutritious. So, if you’re looking for a way to add a little sparkle to your diet without compromising on health, edible crystals are the way to go.
Basic Ingredients for Edible Crystals
Before you start making edible crystals, you’ll need to gather a few basic ingredients. Here’s a quick rundown:
- Sugar: The foundation of most edible crystal recipes. You can use granulated sugar, raw sugar, or even powdered sugar depending on the texture you want.
- Water: Essential for creating the supersaturated solution that forms the crystals.
- Flavorings: Add a touch of flavor to your crystals using extracts like vanilla, peppermint, or almond.
- Food Coloring: If you want your crystals to have a pop of color, food coloring is your best friend.
- String or Skewers: These are used to hang the crystals as they form.
Once you have these ingredients, you’re ready to dive into the world of edible crystal crafting. But remember, the quality of your ingredients will directly impact the quality of your crystals, so don’t skimp on the good stuff!
Step-by-Step Guide to Making Edible Crystals
Now that you’ve got your ingredients, let’s walk through the process of making edible crystals. Follow these steps carefully, and you’ll be on your way to creating edible masterpieces in no time.
Step 1: Prepare the Solution
Start by boiling water in a saucepan. Once it reaches a rolling boil, slowly add sugar, stirring continuously until the sugar dissolves completely. You want to create a supersaturated solution, so keep adding sugar until no more will dissolve.
Step 2: Add Flavor and Color
Now’s the time to get creative! Add a few drops of your favorite flavor extract and a splash of food coloring. Stir gently to ensure everything is evenly distributed. Be careful not to overdo it, or you might end up with crystals that are too strong or too bright.
Step 3: Let It Cool
Once your solution is ready, let it cool down to room temperature. This step is crucial because if the solution is too hot, it won’t form crystals properly. While it’s cooling, prepare your string or skewers by soaking them in water and then rolling them in sugar. This will give the crystals something to latch onto.
Step 4: Hang and Wait
Once your solution has cooled, carefully pour it into a clean jar. Hang your prepared string or skewer in the jar, making sure it doesn’t touch the sides or bottom. Cover the jar with a paper towel to keep dust out, and place it in a quiet, undisturbed spot. Now, all you have to do is wait. Over the next few days, you’ll start to see crystals forming on your string or skewer.
Tips for Perfecting Your Crystals
Creating edible crystals isn’t rocket science, but there are a few tips and tricks that can help you achieve perfection every time.
- Patiently Wait: The key to successful crystal formation is patience. Don’t disturb the jar while the crystals are forming, or you risk ruining the process.
- Use Pure Ingredients: Impurities in your sugar or water can prevent crystals from forming properly. Stick to high-quality ingredients for the best results.
- Experiment with Shapes: You’re not limited to strings or skewers. Try using different shapes or molds to create unique crystal designs.
- Store Properly: Once your crystals are ready, store them in an airtight container to keep them fresh and prevent them from dissolving.
Creative Uses for Edible Crystals
Now that you know how to make edible crystals, it’s time to put them to good use. Here are a few creative ideas to inspire you:
1. Cake Decorations
Edible crystals are the perfect way to add a touch of luxury to your cakes. Whether you’re decorating a wedding cake or a birthday cake, these sparkling gems will take your dessert game to the next level.
2. Cocktail Garnishes
Give your cocktails a glamorous twist by adding edible crystals as garnishes. They’ll not only look amazing but also add a hint of sweetness to your drinks.
3. Chocolate Coatings
For a truly indulgent treat, coat your chocolates with edible crystals. The combination of smooth chocolate and crunchy crystals is simply irresistible.
Common Mistakes to Avoid
Even the most experienced crystal makers can make mistakes. Here are a few common pitfalls to watch out for:
- Overheating the Solution: If you heat the sugar solution too much, it can burn and ruin the taste of your crystals.
- Not Using Enough Sugar: If your solution isn’t supersaturated, the crystals won’t form properly. Make sure you add enough sugar to create the right consistency.
- Disturbing the Jar: Any disturbance during the crystal formation process can cause the crystals to fall off or dissolve.
Delicious Recipes Featuring Edible Crystals
Here are a couple of recipes that incorporate edible crystals to take your desserts to the next level:
Edible Crystal Candy
Ingredients:
- 2 cups granulated sugar
- 1 cup water
- 1 tsp vanilla extract
- Food coloring of your choice
Instructions:
- Boil water and dissolve sugar until a supersaturated solution forms.
- Add vanilla extract and food coloring.
- Pour into molds or jars and let it sit for a few days.
Crystal-Encrusted Chocolate Bark
Ingredients:
- 1 cup dark chocolate chips
- 1 cup white chocolate chips
- Edible crystals
Instructions:
- Melt chocolate chips in a double boiler.
- Spread the melted chocolate on a baking sheet lined with parchment paper.
- Sprinkle edible crystals on top while the chocolate is still soft.
- Refrigerate until set and break into pieces.
Cost-Effective Ways to Make Edible Crystals
While edible crystals can be expensive to buy, making them at home is surprisingly cost-effective. Here are a few ways to save money while crafting your crystals:
- Use Bulk Ingredients: Buying sugar and other ingredients in bulk can significantly reduce your costs.
- Repurpose Containers: Instead of buying new jars, repurpose old ones to store your crystal solutions.
- DIY Tools: You don’t need fancy equipment to make edible crystals. A simple saucepan and some string will do the trick.
Conclusion: Your Edible Crystal Journey
Creating edible crystal recipes is more than just a hobby—it’s an art form. From their dazzling appearance to their delicious taste, edible crystals have the power to transform any dish into something truly special. Whether you’re a seasoned chef or a beginner, there’s no denying the joy of crafting edible masterpieces in your own kitchen.
So, what are you waiting for? Gather your ingredients, follow the steps, and start your edible crystal journey today. And don’t forget to share your creations with friends and family. Who knows? You might just inspire someone else to join you on this sweet adventure. Happy crafting, and remember—life’s too short for boring desserts!
Detail Author:
- Name : Merle Fadel II
- Username : mike.king
- Email : vgutkowski@smith.info
- Birthdate : 1975-12-13
- Address : 24720 Lori Fort Apt. 348 North Draketown, TX 90024
- Phone : +1-530-725-2319
- Company : Schamberger Inc
- Job : Machine Operator
- Bio : Labore quia exercitationem sit voluptatem sunt quis officia. Omnis perferendis culpa sed quibusdam dolor. Beatae dicta minus exercitationem. At voluptate aliquid et accusamus autem.
Socials
instagram:
- url : https://instagram.com/rowei
- username : rowei
- bio : Tempora tempore nisi vero enim quae. Ut est ipsam natus nihil vel.
- followers : 3991
- following : 2436
facebook:
- url : https://facebook.com/isom_rowe
- username : isom_rowe
- bio : Ut voluptatem sint eos non minus.
- followers : 2790
- following : 2000
linkedin:
- url : https://linkedin.com/in/isom_rowe
- username : isom_rowe
- bio : Et qui a minus quo expedita.
- followers : 6032
- following : 1465
